U.S. Department of Transportation
Federal Highway Administration
1200 New Jersey Avenue, SE
Washington, DC 20590
202-366-4000
Federal Highway Administration Research and Technology
Coordinating, Developing, and Delivering Highway Transportation Innovations
 |
| This report is an archived publication and may contain dated technical, contact, and link information |
|
Federal Highway Administration > Publications > Research > Structures > Long-Term Performance of Epoxy-Coated Reinforcing Steel in Heavy Salt-Contaminated Concrete |
Publication Number: FHWA-HRT-04-090 |
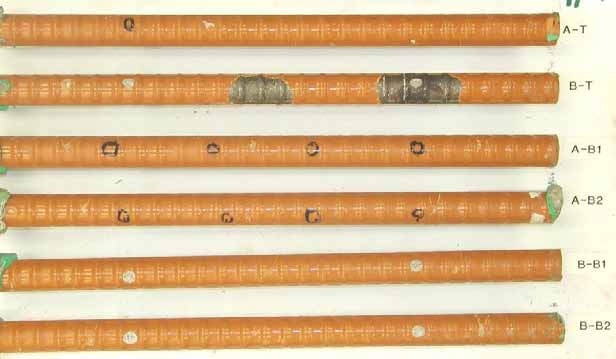
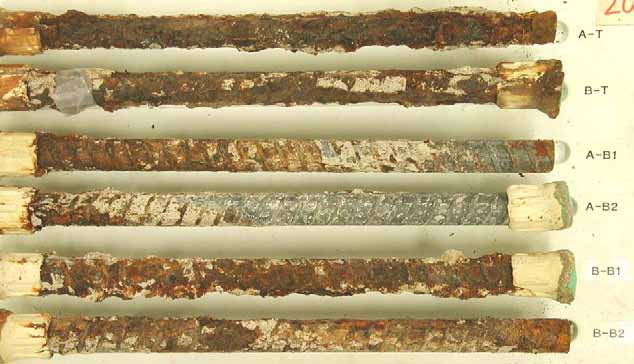
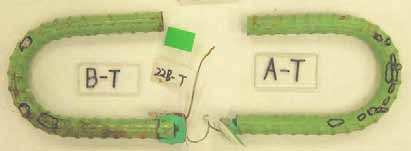
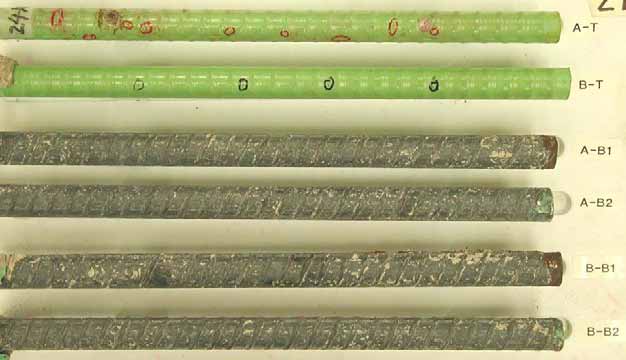
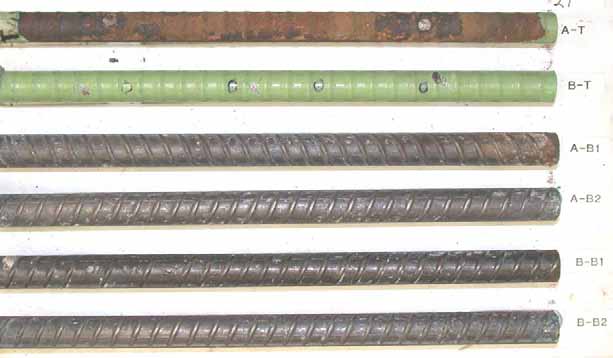
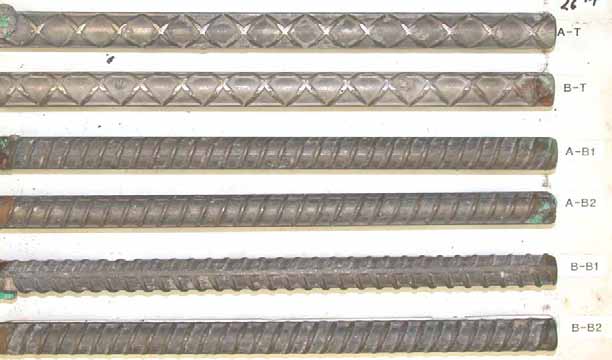
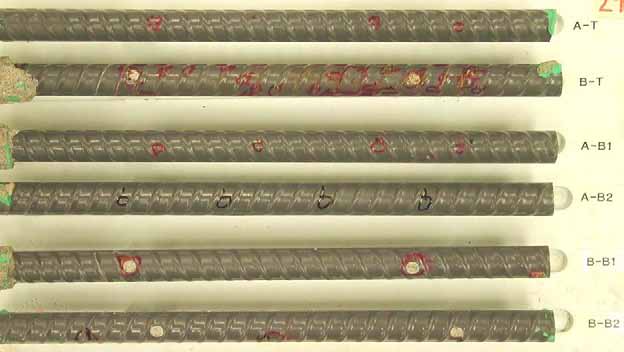
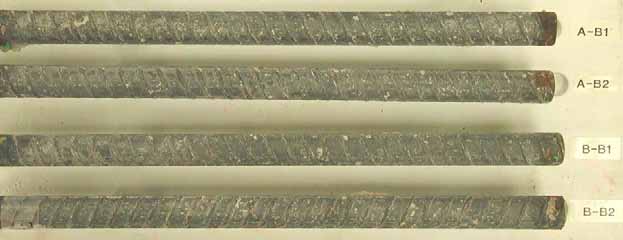
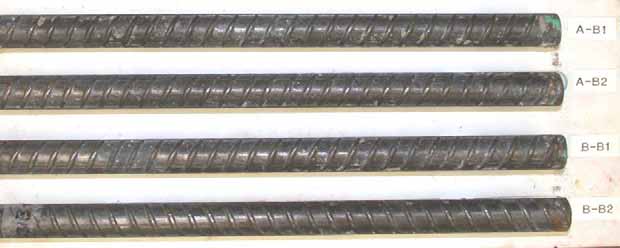
b) Bottom bars
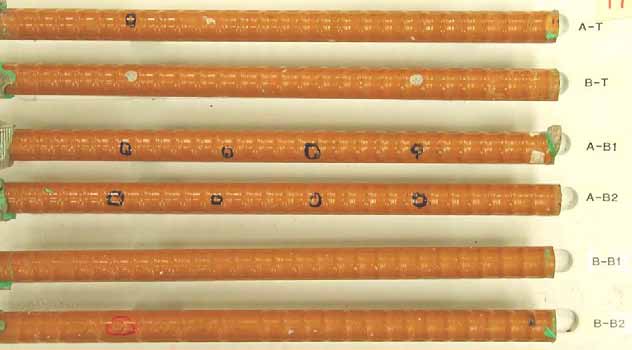
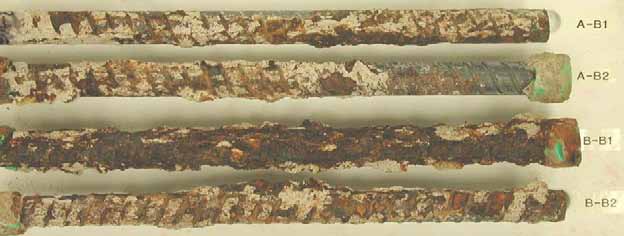
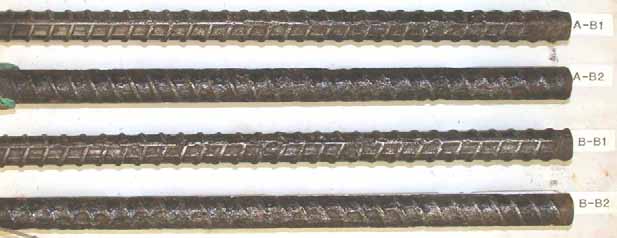
*A-T: Top left bar, B-T: Top right bar, A-B1&B2: Bottom left bars, B-B1&B2: Bottom right bars
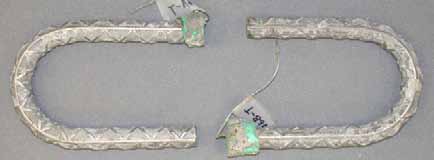
Figure 91. Slab #16 extracted rebars condition
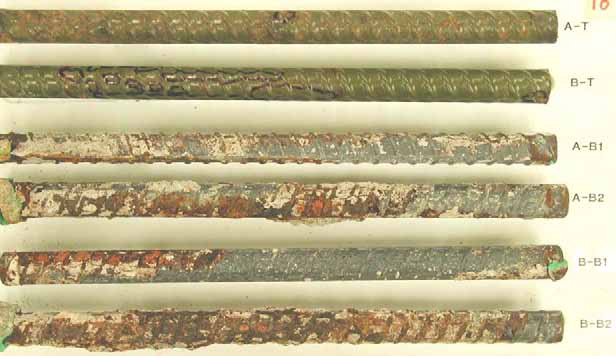
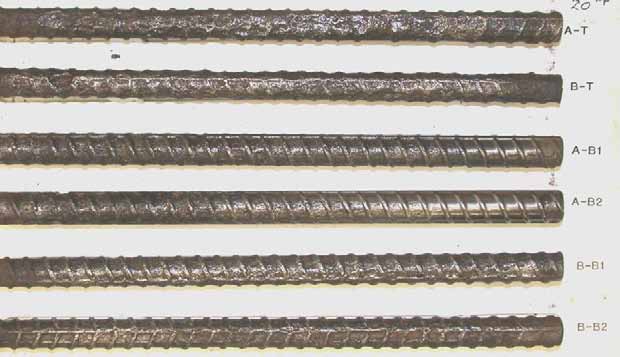
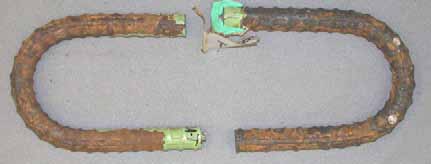
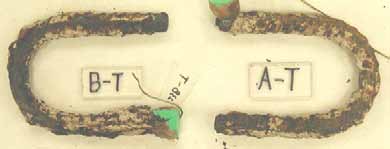
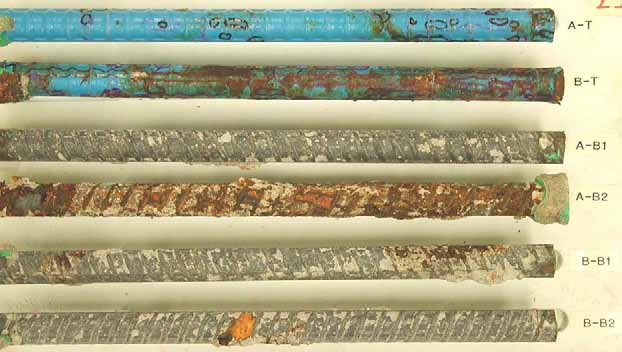
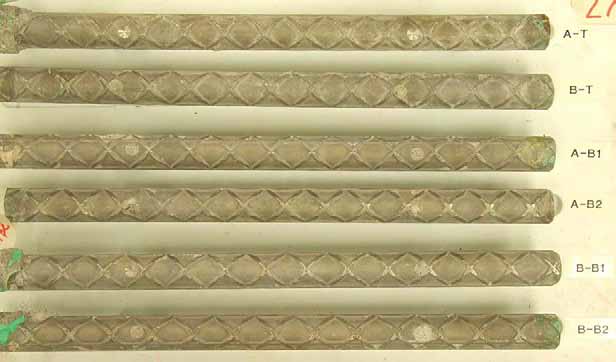
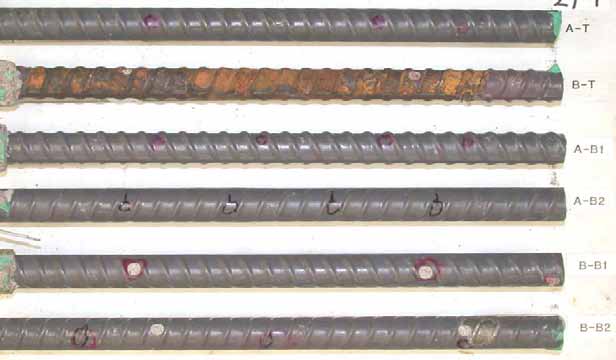
b) Bottom bars
*A-T: Top left bar, B-T: Top right bar, A-B1&B2: Bottom left bars, B-B1&B2: Bottom right bars
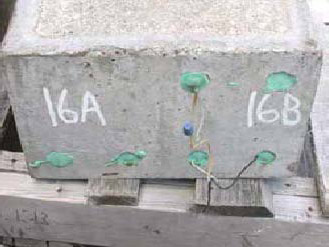
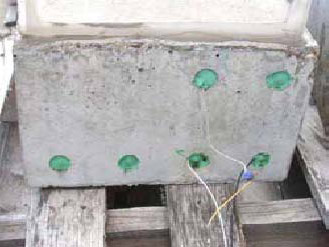
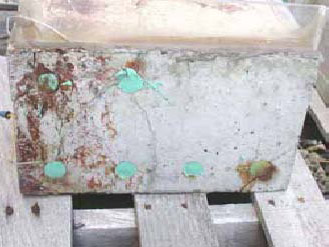
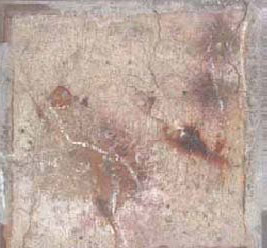
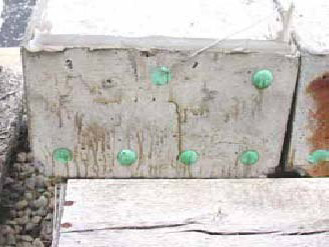
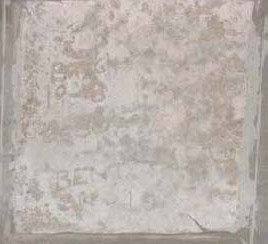
Figure 92. Slab #16 after autopsy
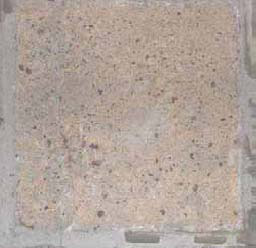
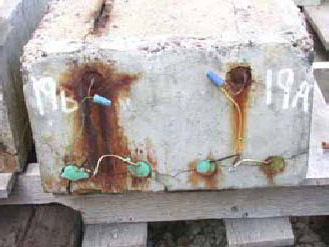
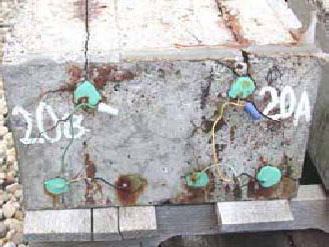
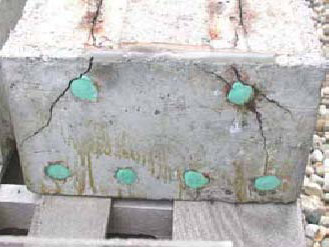
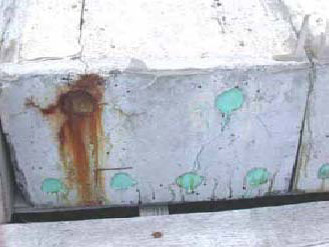
 a) Front View |
 b) Rear View |
|||||||||||||||||||||
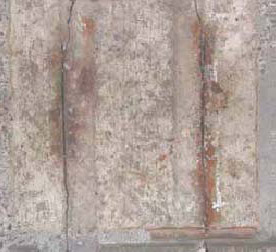
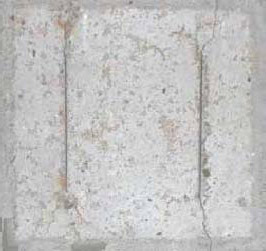
 c) Top View |
|
|||||||||||||||||||||
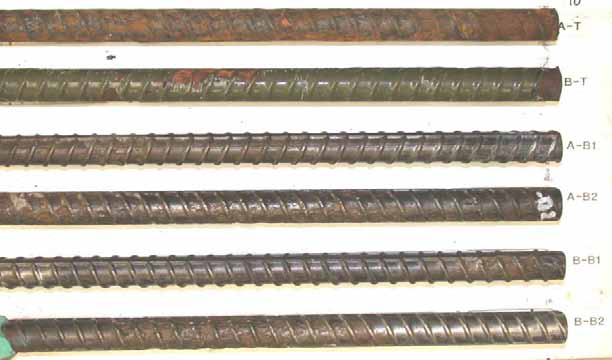
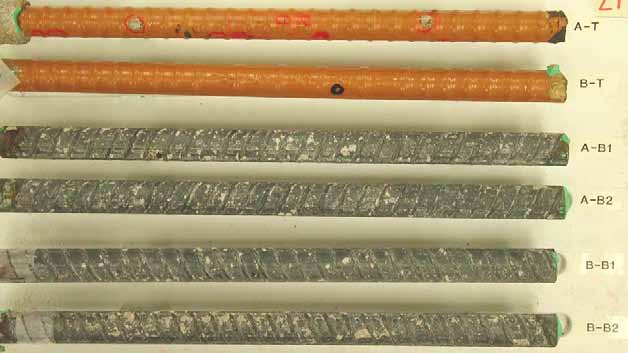
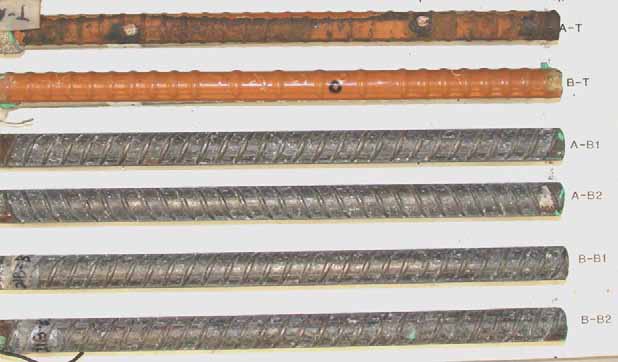
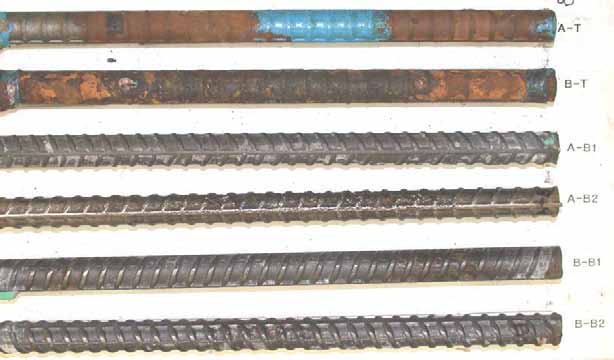
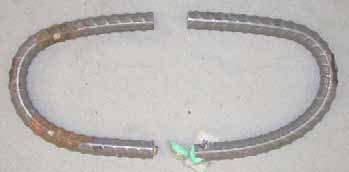
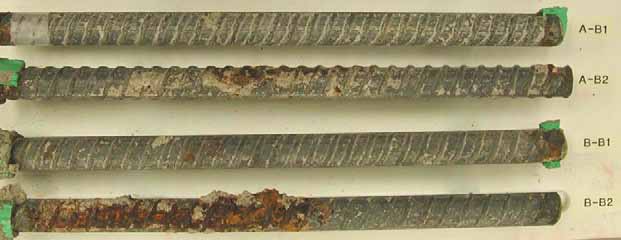
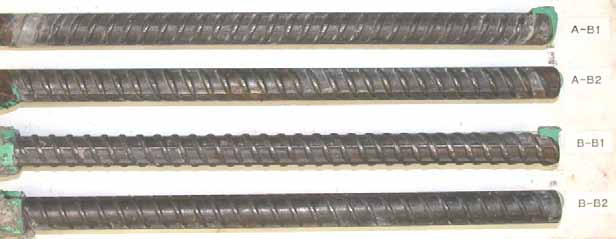
Figure 94. Slab #17 extracted rebars condition
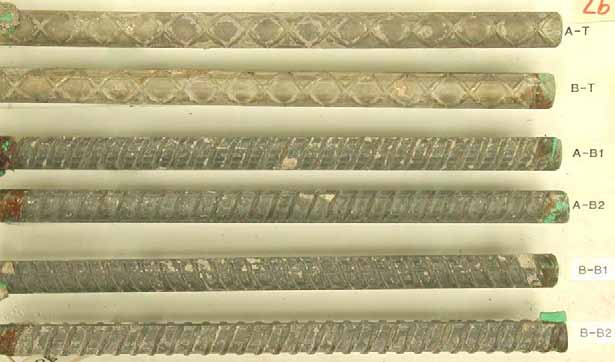
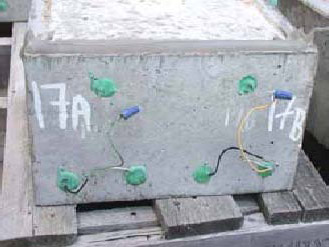
Figure 95. Slab #17 after autopsy
*A-T: Top left bar, B-T: Top right bar, A-B1&B2: Bottom left bars, B-B1&B2: Bottom right bars
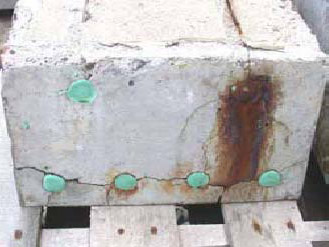
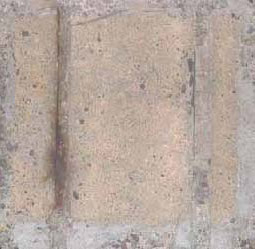
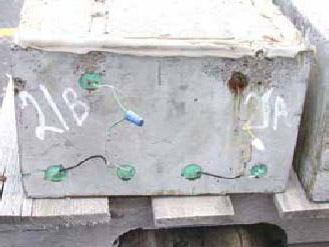
 a) Front View |
 b) Rear View |
|||||||||||||||||||||
 c) Top View |
|
|||||||||||||||||||||
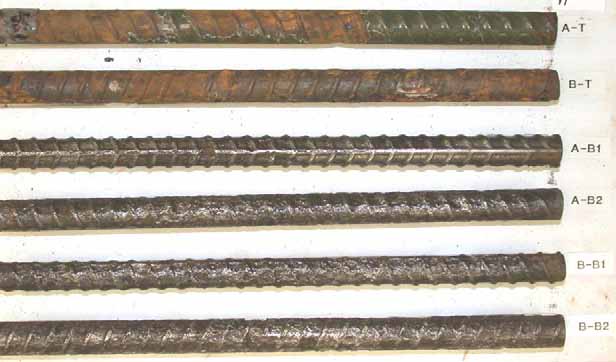
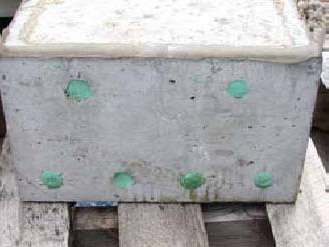
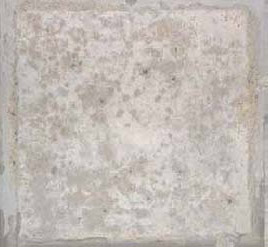
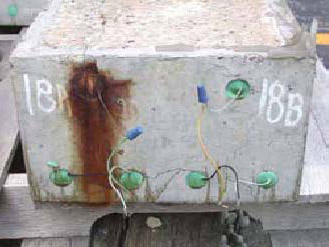
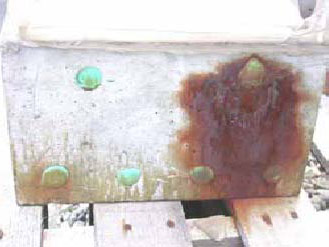
Figure 97. Slab #18 extracted rebars condition
Figure 98. Slab #18 after autopsy
*A-T: Top left bar, B-T: Top right bar, A-B1&B2: Bottom left bars, B-B1&B2: Bottom right bars
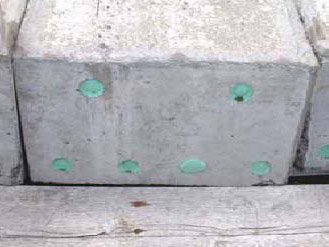
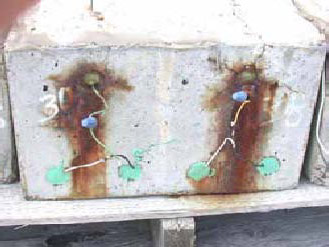
 a) Front View |
 b) Rear View |
|||||||||||||||||||||
 c) Top View |
|
|||||||||||||||||||||
Figure 100. Slab #19 extracted rebars condition
Figure 101. Slab #19 after autopsy
*A-T: Top left bar, B-T: Top right bar, A-B1&B2: Bottom left bars, B-B1&B2: Bottom right bars
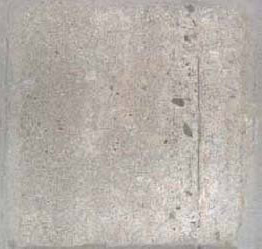
 a) Front View |
 b) Rear View |
|||||||||||||||||||||
 c) Top View |
|
|||||||||||||||||||||
Figure 103. Slab #20 extracted rebars condition
Figure 104. Slab #20 after autopsy
*A-T: Top left bar, B-T: Top right bar, A-B1&B2: Bottom left bars, B-B1&B2: Bottom right bars
 a) Front View |
 b) Rear View |
|||||||||||||||||||||
 c) Top View |
|
|||||||||||||||||||||
Figure 106. Slab #21 extracted rebars condition
Figure 107. Slab #21 after autopsy
*A-T: Top left bar, B-T: Top right bar, A-B1&B2: Bottom left bars, B-B1&B2: Bottom right bars
 a) Front View |
 b) Rear View |
|||||||||||||||||||||
 c) Top View |
|
|||||||||||||||||||||
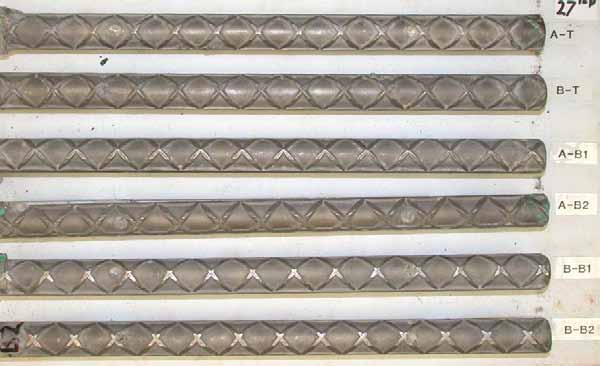
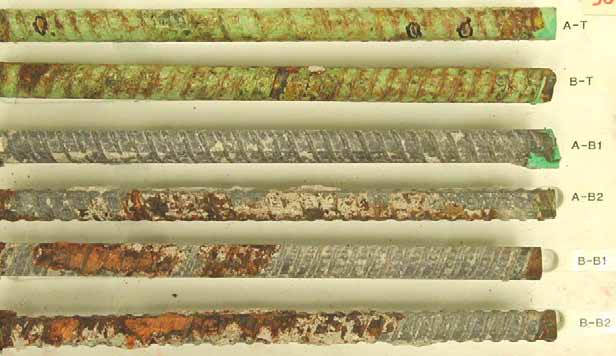
b) Bottom bars
*A-T: Top left bar, B-T: Top right bar, A-B1&B2: Bottom left bars, B-B1&B2: Bottom right bars
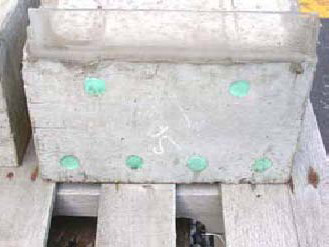
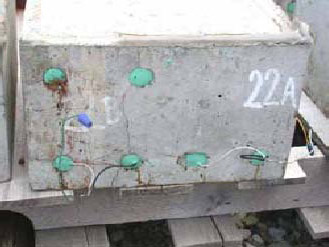
Figure 109. Slab #22 extracted rebars condition
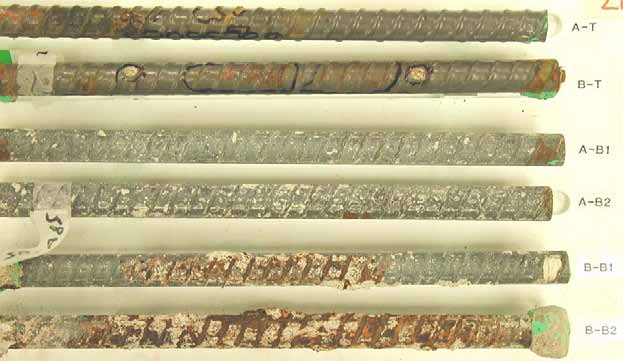
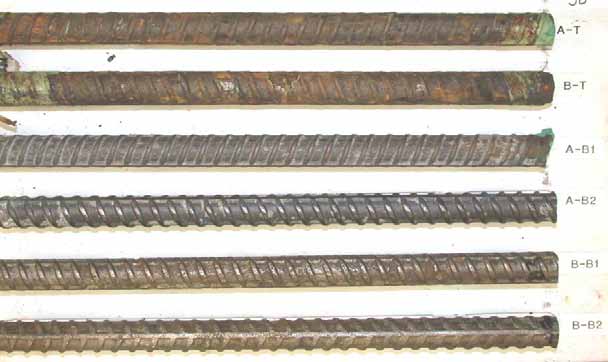
b) Bottom bars
*A-T: Top left bar, B-T: Top right bar, A-B1&B2: Bottom left bars, B-B1&B2: Bottom right bars
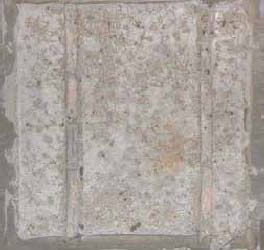
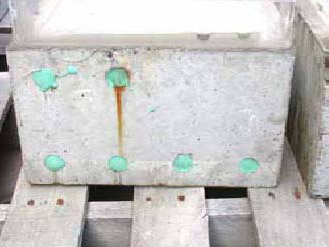
Figure 110. Slab #22 after autopsy
 a) Front View |
 b) Rear View |
|||||||||||||||||||||
 c) Top View |
|
|||||||||||||||||||||
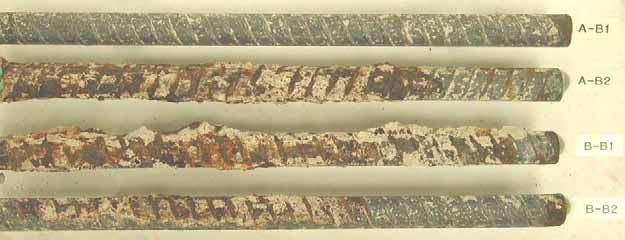
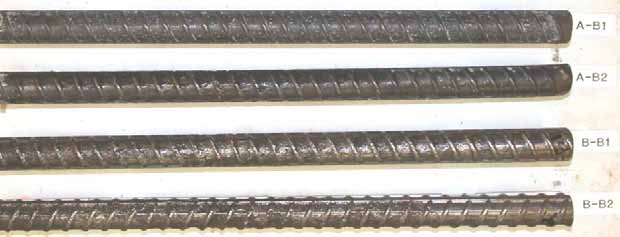
b) Bottom bars
*A-T: Top left bar, B-T: Top right bar, A-B1&B2: Bottom left bars, B-B1&B2: Bottom right bars
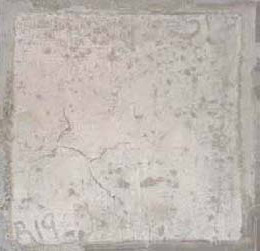
Figure 112. Slab #23 extracted rebars condition
b) Bottom bars
*A-T: Top left bar, B-T: Top right bar, A-B1&B2: Bottom left bars, B-B1&B2: Bottom right bars
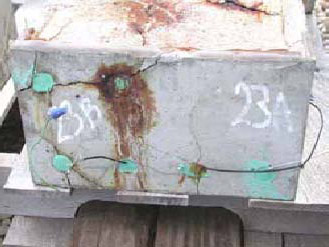
Figure 113. Slab #23 after autopsy
 a) Front View |
 b) Rear View |
|||||||||||||||||||||
 c) Top View |
|
|||||||||||||||||||||
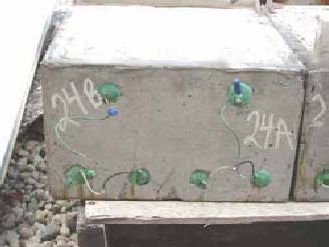
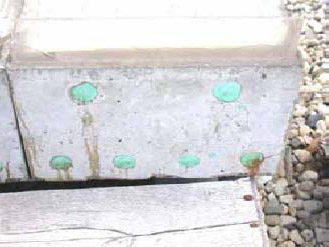
Figure 115. Slab #24 extracted rebars condition
Figure 116. Slab #24 after autopsy
*A-T: Top left bar, B-T: Top right bar, A-B1&B2: Bottom left bars, B-B1&B2: Bottom right bars
 a) Front View |
 b) Rear View |
|||||||||||||||||||||
 c) Top View |
|
|||||||||||||||||||||
Figure 118. Slab #25 extracted rebars condition
Figure 119. Slab #25 after autopsy
*A-T: Top left bar, B-T: Top right bar, A-B1&B2: Bottom left bars, B-B1&B2: Bottom right bars
 a) Front View |
 b) Rear View |
|||||||||||||||||||||
 c) Top View |
|
|||||||||||||||||||||
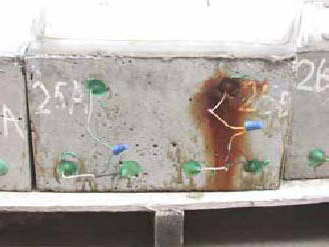
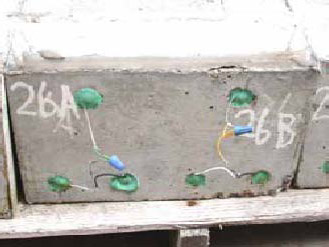
Figure 121. Slab #26 extracted rebars condition
Figure 122. Slab #26 after autopsy
*A-T: Top left bar, B-T: Top right bar, A-B1&B2: Bottom left bars, B-B1&B2: Bottom right bars
 a) Front View |
 b) Rear View |
|||||||||||||||||||||
 c) Top View |
|
|||||||||||||||||||||
Figure 124. Slab #27 extracted rebars condition
Figure 125. Slab #27 after autopsy
*A-T: Top left bar, B-T: Top right bar, A-B1&B2: Bottom left bars, B-B1&B2: Bottom right bars
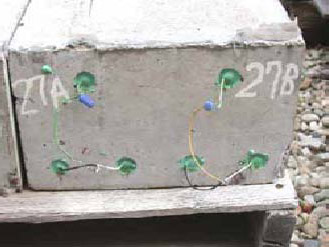
 a) Front View |
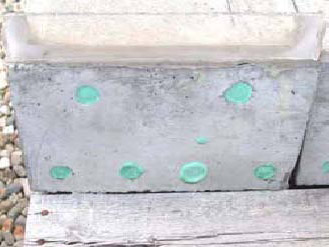
 b) Rear View |
|||||||||||||||||||||
 c) Top View |
|
|||||||||||||||||||||
Figure 127. Slab #28 extracted rebars condition
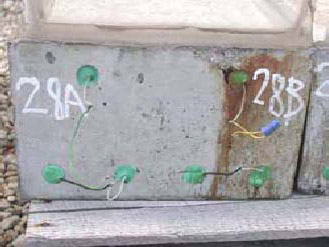
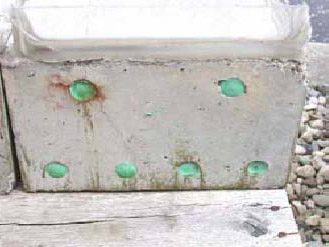
Figure 128. Slab #28 after autopsy
*A-T: Top left bar, B-T: Top right bar, A-B1&B2: Bottom left bars, B-B1&B2: Bottom right bars
 a) Front View |
 b) Rear View |
|||||||||||||||||||||
 c) Top View |
|
|||||||||||||||||||||
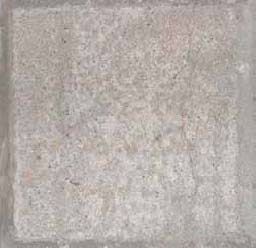
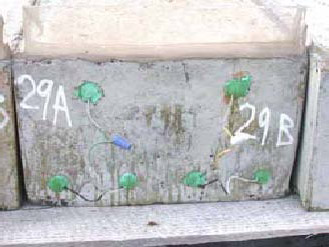
Figure 130. Slab #29 extracted rebars condition
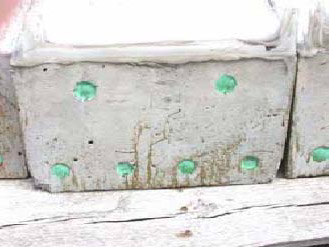
Figure 131. Slab #29 after autopsy
*A-T: Top left bar, B-T: Top right bar, A-B1&B2: Bottom left bars, B-B1&B2: Bottom right bars
 a) Front View |
 b) Rear View |
|||||||||||||||||||||
 c) Top View |
|
|||||||||||||||||||||
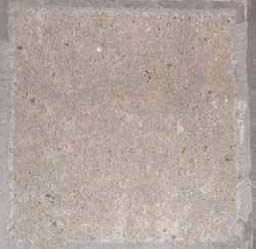
Figure 133. Slab #30 extracted rebars condition
Figure 134. Slab #30 after autopsy
*A-T: Top left bar, B-T: Top right bar, A-B1&B2: Bottom left bars, B-B1&B2: Bottom right bars
 a) Front View |
 b) Rear View |
|||||||||||||||||||||
 c) Top View |
|
|||||||||||||||||||||
b) Bottom bars
*A-T: Top left bar, B-T: Top right bar, A-B1&B2: Bottom left bars, B-B1&B2: Bottom right bars
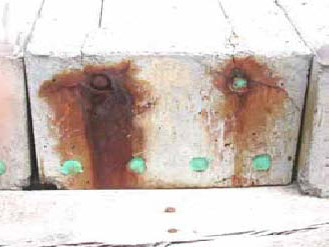
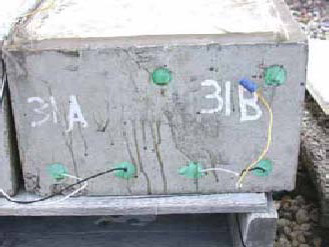
Figure 136. Slab #31 extracted rebars condition
b) Bottom bars
*A-T: Top left bar, B-T: Top right bar, A-B1&B2: Bottom left bars, B-B1&B2: Bottom right bars
Figure 137. Slab #31 after autopsy