

Asphalt Binder Cracking Device to reduce Low Temperature Asphalt Pavement Cracking
APPENDIX D. ABCD USER'S MANUAL
- 7. Assembly
- 7.1 Place all the molds on separate turntables.
- 7.2 Set each ABCD ring into a mold.
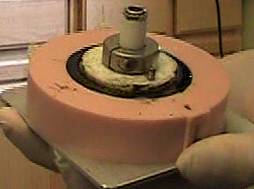
- 7.3 Align the vertical metal dowel post on the ring with the mold protrusion. When moving samples, hold the turntable and avoid holding the mold as this can lead to deformation of asphalt binder specimen

Step 7.3 Completed assembly.
- 8. Pouring
- 8.1 After the binder sample has been heated (and degassed if necessary), remove from oven and stir with heated rod. Gloves are necessary.
- 8.2 Starting from a point close to the protrusion, slowly pour the binder into the mold until the binder has completely filled the space directly below the protrusion. Then, slowly pour over the protrusion. (This process minimizes the possibility of trapping air under the protrusion or formation of a cold–joint). Placing the assembly on a pouring stand may aid pouring.
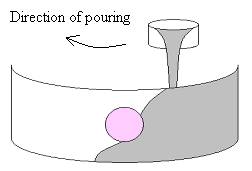
Step 8.2. Pouring.
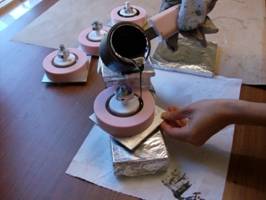
Step 8.2. Pouring.
- 9. Room Temperature Cooling
- 9.1 After all molds have been filled, let them all sit at room temperature for at least 1 hour.
- 10. Trimming
- 10.1 After 1 hour of sitting at room temperature, the samples are ready for trimming.
- 10.2 Heat a spatula before trimming the samples. The spatula must be sufficiently hot; otherwise, it may stick to the binder and pull it out of shape.
- 10.3 The heated spatula is held in one hand at an angle between 20o and 45o relative to horizontal while the turntable (and hence the mold/ring/binder) is rotated slowly with the other hand in a direction such that excess binder is removed onto the upper surface of the spatula leaving the remaining binder flush with the upper surface of the mold. The removed binder is discarded periodically by wiping on paper towel. The spatula is re–heated periodically until all of the excess binder is removed. Avoid applying excessive pressure on the spatula or it may depress the flexible mold or over trim the sample. To aid turntable rotation, it is satisfactory to hold both the turntable and top of the ABCD ring with one hand (rather than only holding the turntable) while trimming with the other hand.
- 10.4 Trim all assemblies.
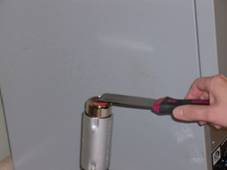
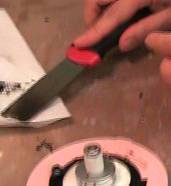
Step 10.2. Heat spatula.
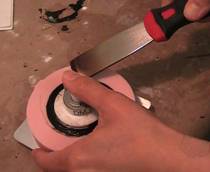
Step 10.3. Trim binder.
Step 10.3. Clean spatula by wiping on towel.

Step 10.3. Re–heat spatula
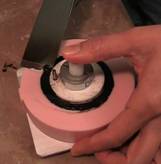
Step 10.3. Trim binder.
- 11. Ring Rotation
- 11.1 While holding the turntable with one hand (avoid holding the mold if possible), grasp the ring and rotate it between 5 degrees and 30 degrees.
- 11.2 Then rotate the ring back to its original position. The binder should not rotate. The goal is to break the adhesive bond between the binder and the ring so that the binder will freely contract upon cooling.
- 11.3 Do this for all assemblies.
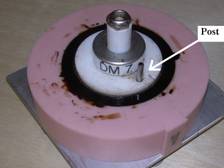
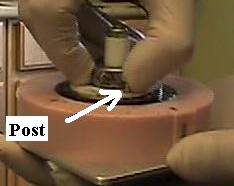
Step 11.1. Left hand holding turntable. Initially post lines up with label "V" on mold.
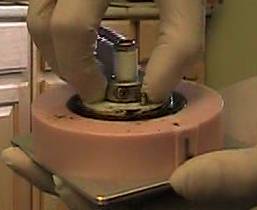
Step 11.1. Right thumb begins to push against post.
Step 11.1. Post is pushed with right thumb such that ring rotates between 5 and 30 degrees from initial position.
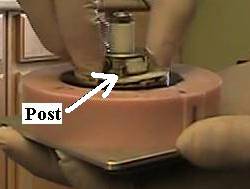
Step 11.1. Ring has been rotated between 5 and 30 degrees from initial position.
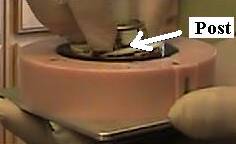
Step 11.2. Post is pushed back by index finger of right hand.
Step 11.2. Rotation completed. Post lines up with label "L" on mold.